Are you looking to connect with like-minded people on Facebook to grow your community and business? If so, this easy guide will show you how to create and manage a Facebook Group to grow your community and business.
Facebook is the most popular social media platform for sharing ideas and experiences by connecting with like-minded people.
Facebook is the largest social media platform globally with over 3.5 billion monthly active users worldwide.
People, brands, and companies use it to enhance their community and business goals.
Whether you are a blogger, business owner, or owner of an organization, Facebook is the best social media platform to build a strong community and grow your business steadily.
Users can create multiple Facebook Pages and Groups for specific needs and use them to promote their brand, collect leads, or sell products.
So now let’s start with how to create, manage, and grow a Facebook Group.
What is a Facebook Group?
Facebook groups are often used to share posts, discuss topics, and connect around common interests.
Typically Facebook Pages are used by businesses or public figures, while Groups focus more on community and interaction.
Like, our Facebook Group focuses on troubleshooting related to WordPress and blogging queries.
Why Create a Facebook Group?
Creating a Facebook Group is the best way to get together people with similar interests or goals. It allows you to build a community where members can share ideas, ask questions, and connect.
Whether you’re passionate about a hobby, running a small business, or only want to organize a group of friends, a Facebook group gives you a place to do so.
Groups help enable deeper conversations than regular Facebook posts, making it easier to manage discussions in one place. With privacy settings, you can control who engages and sees your content, ensuring a safe and focused environment for everyone involved.
Finally, a Facebook Group is a powerful tool for building relationships and growing an engaged community.
Steps to Create a Facebook Group
To create a Facebook Group follow the step-by-step process below:
#1 Step: Open Facebook and Find the “Groups” Section
Log in to your Facebook account using mobile or PC, and find the “Groups” option in the main menu.
- PC or desktop users click the “Groups” icon on the left side of the home screen.
- Mobile users tap on the three horizontal lines (menu) in the top-right corner, then tap “Groups”.
#2 Step: Click the “Create New Group” Button
Once you’re in the “Groups” section, look for the button “Create New Group”. Click or tap your new group to start setting it up.
#3 Step: Give Name to Your Group
Now, it’s time to give your group a name. Make sure it’s relevant and easy to understand so people know what your group is all about.
Let’s understand it with an example:
- If your group is for a local travel guide, you could name it “Tour & Travels Buddy”. You can also name it “Ohio Tour & Travels Buddy” if it’s specific to your state.
- If it is a group for your small business, you can name it after your brand.
#4 Step: Select Privacy Settings
Now, you have to choose the privacy settings for your group. There are three types of settings, and you can choose the one that best suits you.
- Public: Anyone can find and join your group.
- Private: Only invited members can view the group’s content. People can still find the group, but they won’t be able to see any content until they join.
- Hidden: This is a feature for very private groups, where people can’t find the group unless invited.
#5 Step: Add Cover Photo and Description
Now, upload a cover photo that represents your group, it could be a logo, an image related to the group’s theme, or something interesting.
After that, add a brief description of what your group is about, this will help people understand the purpose of the group before they join.
#6 Step: Set Group Rules and Invite Members

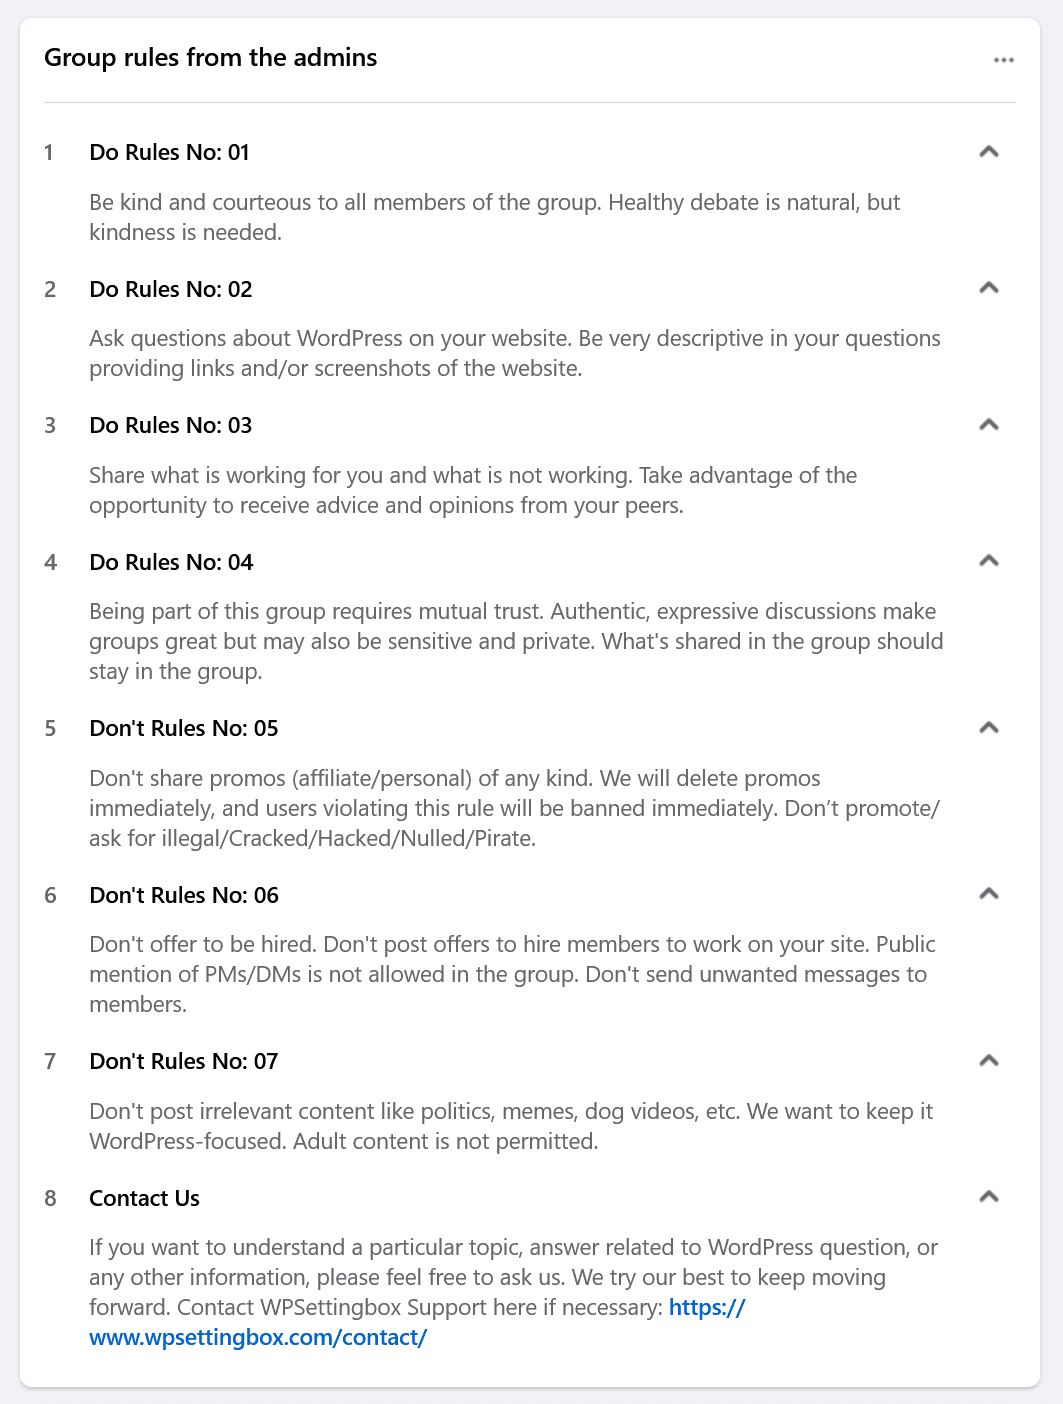
Group rules help keep your community respectful and organized. You can create rules like:
- Be Kind and Respectful to All Members
- No Self-Promotion or Spam
- Stay on the Topic
- Don’t DMs or PMs
Facebook allows you to set up rules easily during the group creation process, and you can edit them later if needed.
Once your group is ready, you can start inviting people to join. You can invite your Facebook friends directly or share the group link on other platforms, such as your website or social media.
Manage Your Facebook Group
After successfully creating your group, it’s time to manage and grow it. Here are some important things to know:
Connect with members
Start the conversation by posting interesting topics, questions, or resources. Reply to comments to keep the group active.
This will help you to grow your group day by day.
Use moderation tools
Moderation tools help you manage your group easily.
- You can assign admin and moderators to the group. These are people who help you run the group.
- Approve or reject new members and control who can join your group.
- Review posts before they go live, this helps keep the group safe and on topic.
Grow your group
Promote your group to attract new members.
Share the group link on other platforms like Instagram, Twitter, or your website. It will help you grow your group members.
Encourage current members to invite their friends, and post regularly to keep people engaged and interested.
Tips for a Successful Facebook Group in 2024
Here are some tips for running a successful Facebook Group:
- Be Consistent: Regularly post interesting content and start conversations to keep members engaged.
- Encourage Conversations: Ask questions, create polls, and invite members to share their ideas.
- Set Clear Rules: This helps maintain a friendly, respectful atmosphere where everyone feels comfortable.
- Use Facebook’s Tools: To manage the group effectively take advantage of new features like moderation tools and group insights.
- Promote Your Group: Share your group on social media or websites to grow your community and attract new members.
Common Mistakes to Avoid
It’s easy to make some common mistakes when managing a Facebook Group. First, don’t spam your group with too many promotional posts, it can turn people away.
Not setting clear group rules can lead to confusion and disorder. Without guidelines, members might not know what’s allowed, which can cause issues.
Don’t ignore member feedback. Listening to your group’s needs will help it grow and stay active. Avoiding these mistakes will lead to a healthier, more successful group.
Conclusion
Creating a Facebook Group is one of the most effective ways to build a community around a shared interest, business, or cause.
It allows you to connect with like-minded individuals, foster engagement, and create a space for valuable discussions.
Following these simple steps, you can have your group up and running.
Ongoing engagement with your members is essential to keeping your group active and thriving. Managing the group appropriately and ensuring a positive environment will lead to long-term success.
Enjoy the process and have fun building your online community!
FAQs
Facebook Groups are a space where people with similar interests come together, share ideas, and discuss. Groups can be public or private, depending on who you want to join and view the content.
Once your group is created, click the “Invite” button in your group’s settings. You can invite friends directly, share the link with your group, or promote it on platforms like your website or social media.
Group rules help set the tone for your community. They outline what’s allowed and what isn’t, ensuring everyone has a positive experience. You can create these when setting up the group and update them anytime.
Yes, you can assign members as admins or moderators by going to the “Members” tab, selecting a person, and clicking “Make Admin” or “Make Moderator.” Admins have full control, while moderators help manage posts and membership.
Facebook provides moderation tools to help you manage your group. You can enable post-approval, meaning a post must be reviewed by an admin or moderator before it is published. You can also use keyword filters to automatically detect and remove inappropriate content, helping to block or quickly remove spammers.
